|
|
|

Okay, we're getting close now. Open a new image 481x276, transparent background.
Flood fill with a light grey. Add a new layer and name it 'Top'.
Flood fill this layer with the dark grey we used earlier.
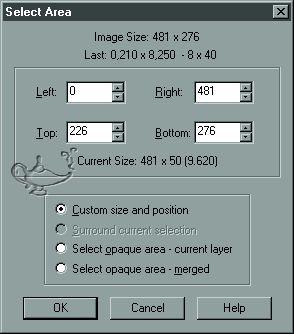
Double-click the selection![]() tool and
put in these coordinates and apply.
tool and
put in these coordinates and apply.
Flood fill with black. Use your line tool, set to single line, width 8,
and draw a line on each end
going up about 40 pixels from the top edge of the black.
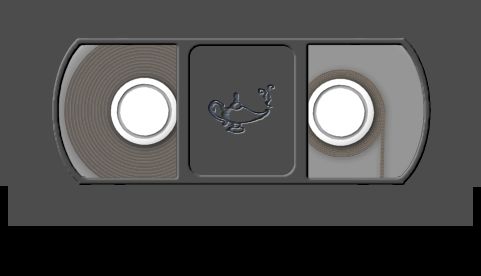
Open up your windows.psp and copy and paste as new layer onto the 'top' layer.
Use your magic wand to select outside of the windows, then invert the selection.
Contract the selection by 3. Make your 'top' layer active and hit the delete key. Deselect.
Make layer 1 active and add a new layer and name it 'Spools'.
Open up spool1.psp. Copy it and paste as new selection on your Spools layer.
Move it into position so that it is behind the left window.
Repeat this process with spool2.psp, except position it behind the right window.
Merge visible all layers.
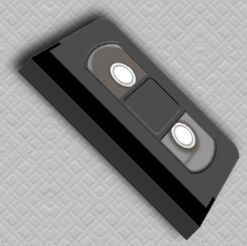
Below is the finished VCR tape
So you want to add a little depth to it too? Well, here is one possibility.
Resize by 50%, with resize all layers unchecked.
Using your selection tool make a rounded rectangle from 120,69 to 360,238.
Invert the selection and hit the delete key.
Use your deformation![]() tool to give some depth
to the tape.
tool to give some depth
to the tape.
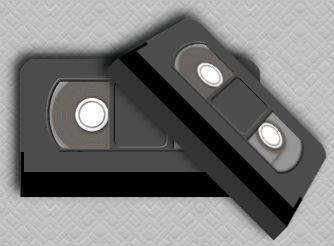
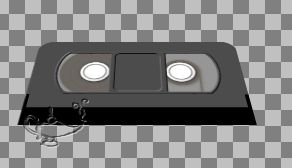
Hold the control key down and pull one of the top corners inward toward the center a little bit.
Then bring the top down some. Your image should resemble this.
Use your selection tool to make a rectangle, antialias unchecked, from 120,206 to 361,226.
Flood fill with black and brighten by 53. Rotate to the right at 45 degrees, all layers unchecked.
Hope you had fun with this one!